Your First Study
In the following sections, we'll guide you through setting up your study in Avicenna, programming Surveys, adding data sources, enrolling participants, and checking the incoming data.
Each of these steps has tons of details to discuss, but we will skip over those. You can check the Reference documentation for a more in-depth look at these topics.
We still may use a term here or there that might be unfamiliar. In this case, please check our Terminology to find out what they mean.
Create Your First Study
After creating a
Researcher Account, you can
navigate to My Studies located on the Researcher Dashboard. There you will see
the Create Study button. Click on it to create your first study.
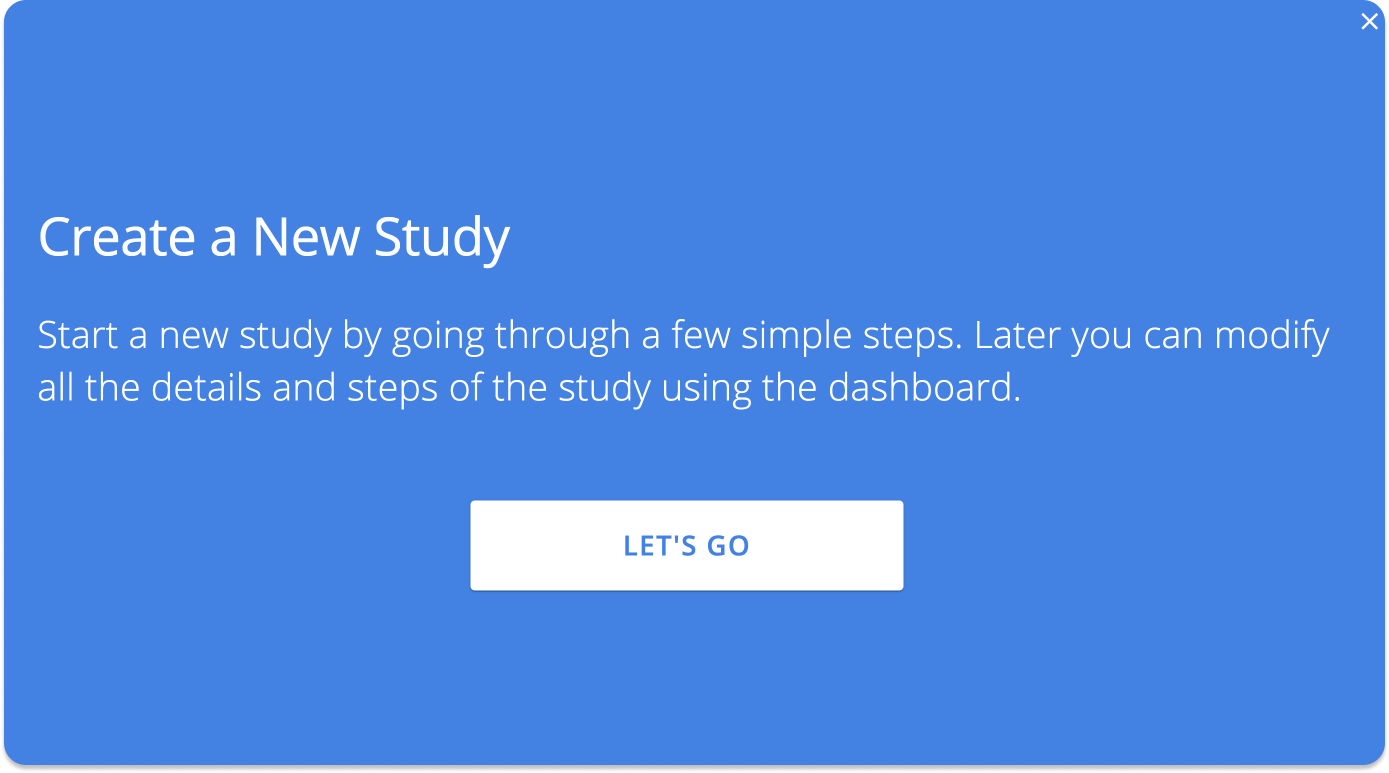
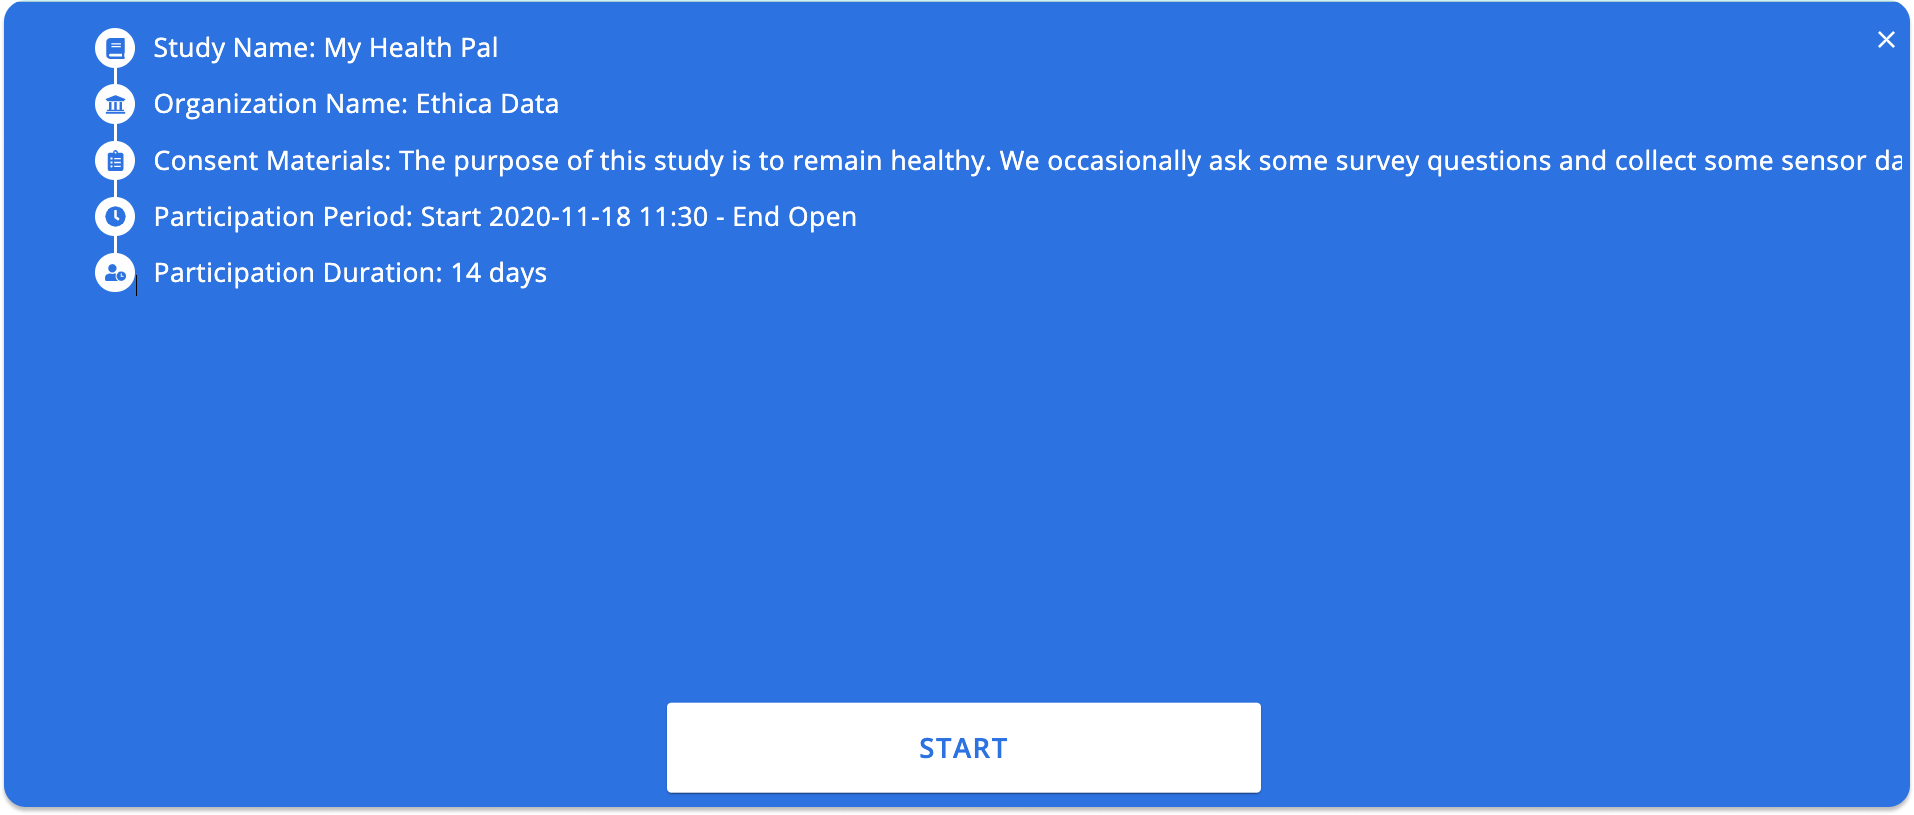
You will be asked a few questions regarding your study. Start by picking a name for the study, for example, My Health Pal. Then enter the name of your organization, for example, Avicenna Research.
Then enter the consent materials you want to be presented to the participants before joining the study. Avicenna asks participants to consent to these before they can register for your study.
Then you can choose what time you expect participants to start their participation, what time their participation is expected to end, and how many days they are expected to be part of the study (Participation Duration). You can read more details in the Participation Period article on how the combination of these values allows you to configure the participation period of your participants.
In this case, we want our participants to start their participation as soon as they join the study, and continue their participation for 14 days. We don't want to have a specific end date for our enrollment either. So leave the Participation Start Time and Participation End Time blank, and set the Participation Duration to 14 days.
When done, click on Start to create your study:
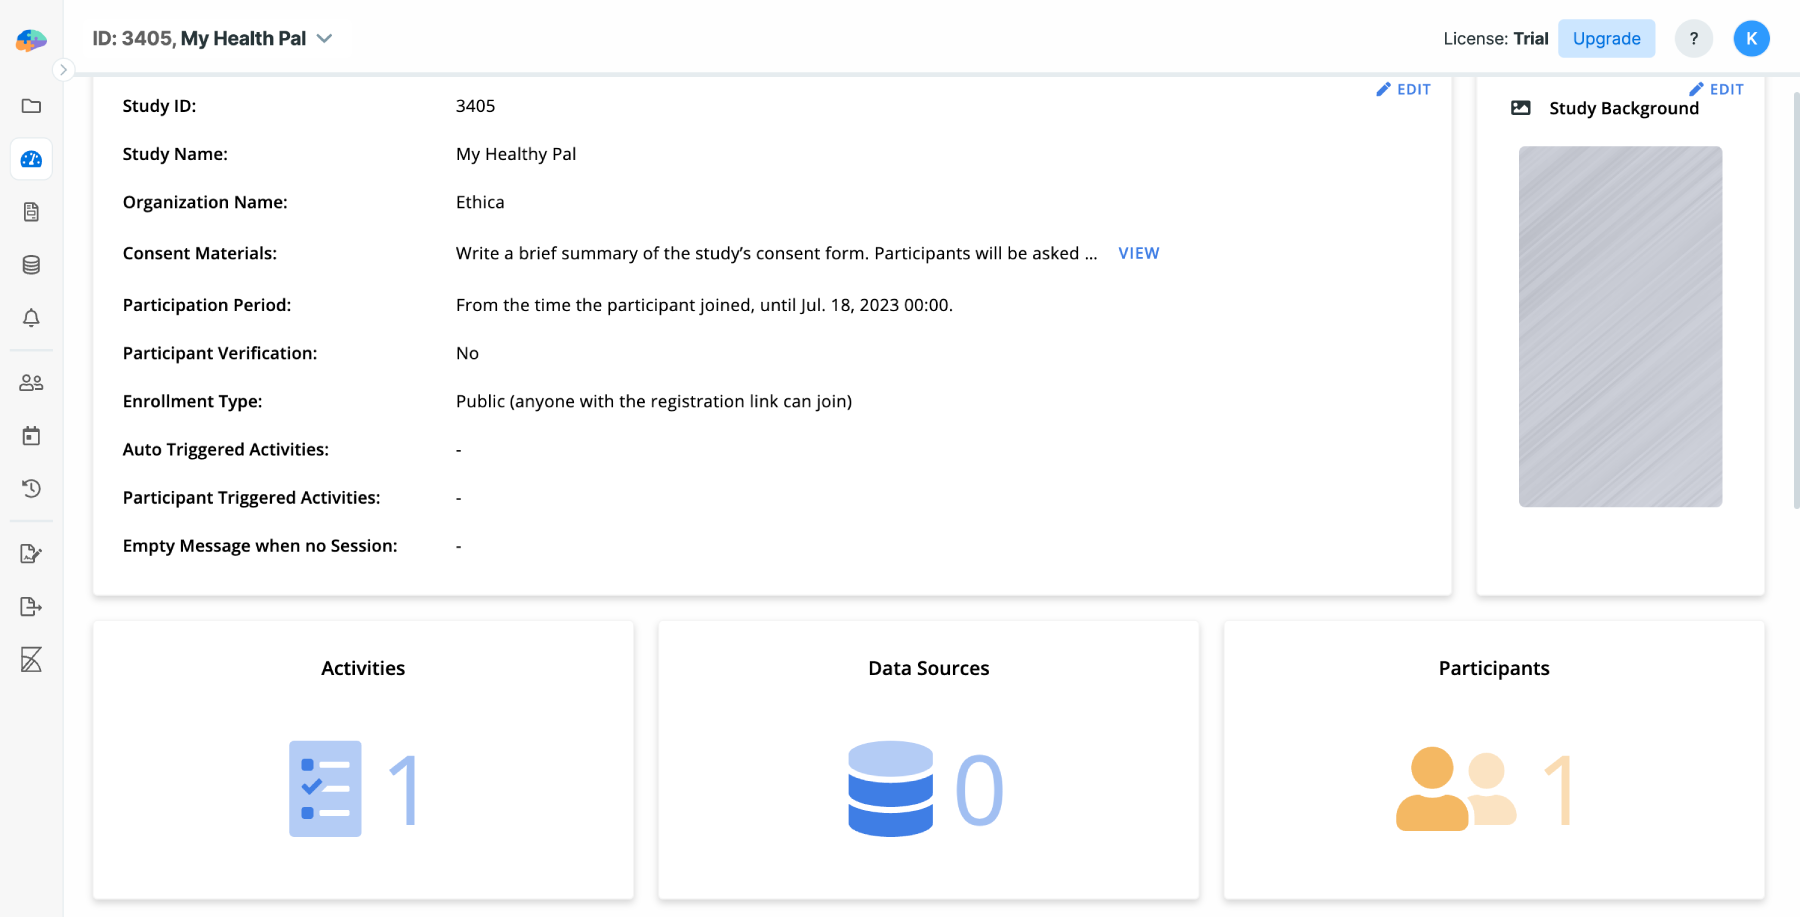
When your study is created you will be taken to your study's Basics page. Here
you can modify the values you entered above, add your colleagues to the study,
or other basic configurations.
After clicking on the Start button, your new study will be created. Initially,
the study will have one site named "Site 1", with an empty "Location" field.
This is the default site for your study. You can add more sites, and edit, or
delete them as needed from the Basics page. See the
Multi-Site Studies
article for more information.
Add Data Sources
Your study likely will collect survey responses, sensor data, and other components. We discuss these in the following pages. For now, let's add a few data sources to our study.
For this example, we want to collect GPS and pedometer data. So click on the
Data Sources on the left panel, and then click on Add New Data Source:
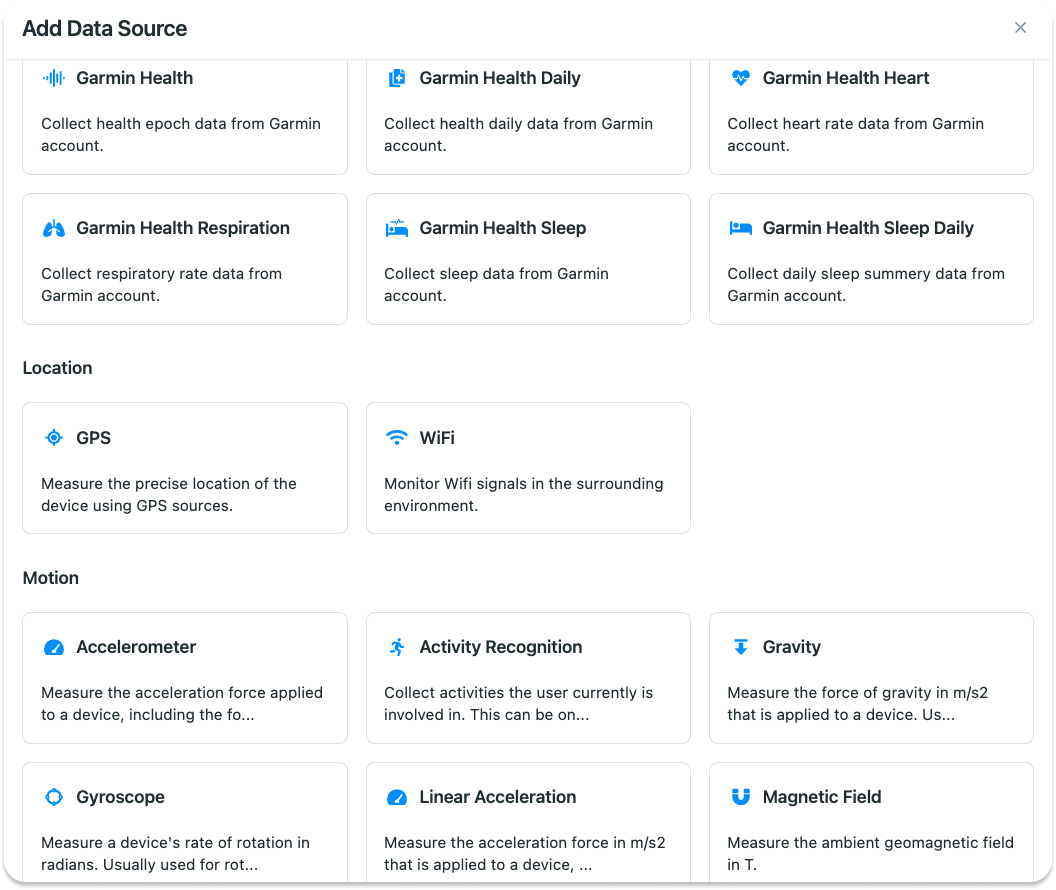
In the list, find GPS and click on it. On the next page, specify whether
providing this data is mandatory for your participants, or they can opt out as
well:
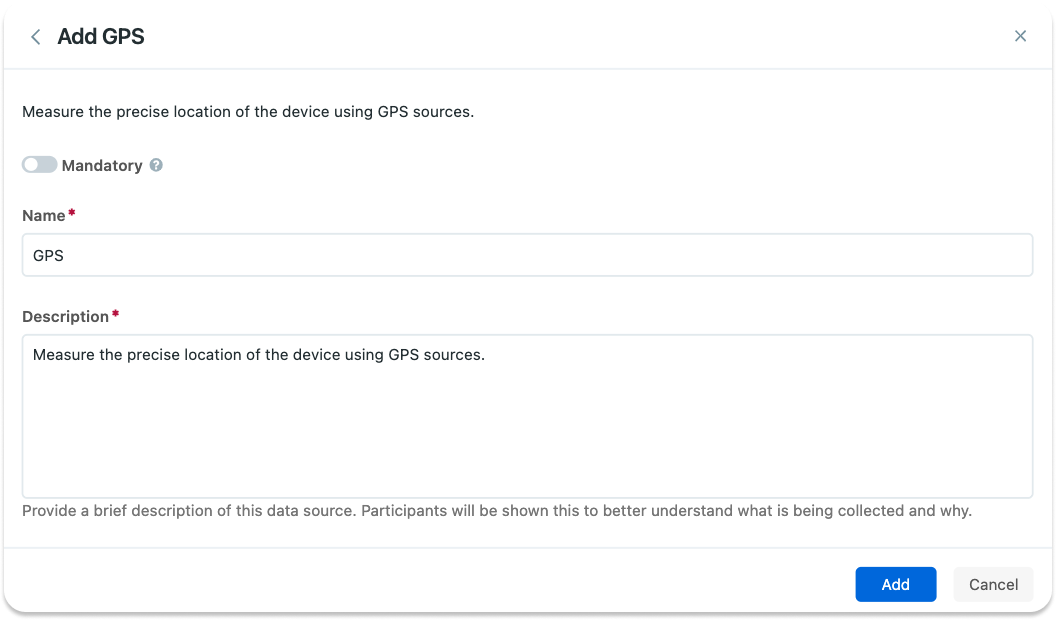
You can also enter a name and a description to be shown to the participants.
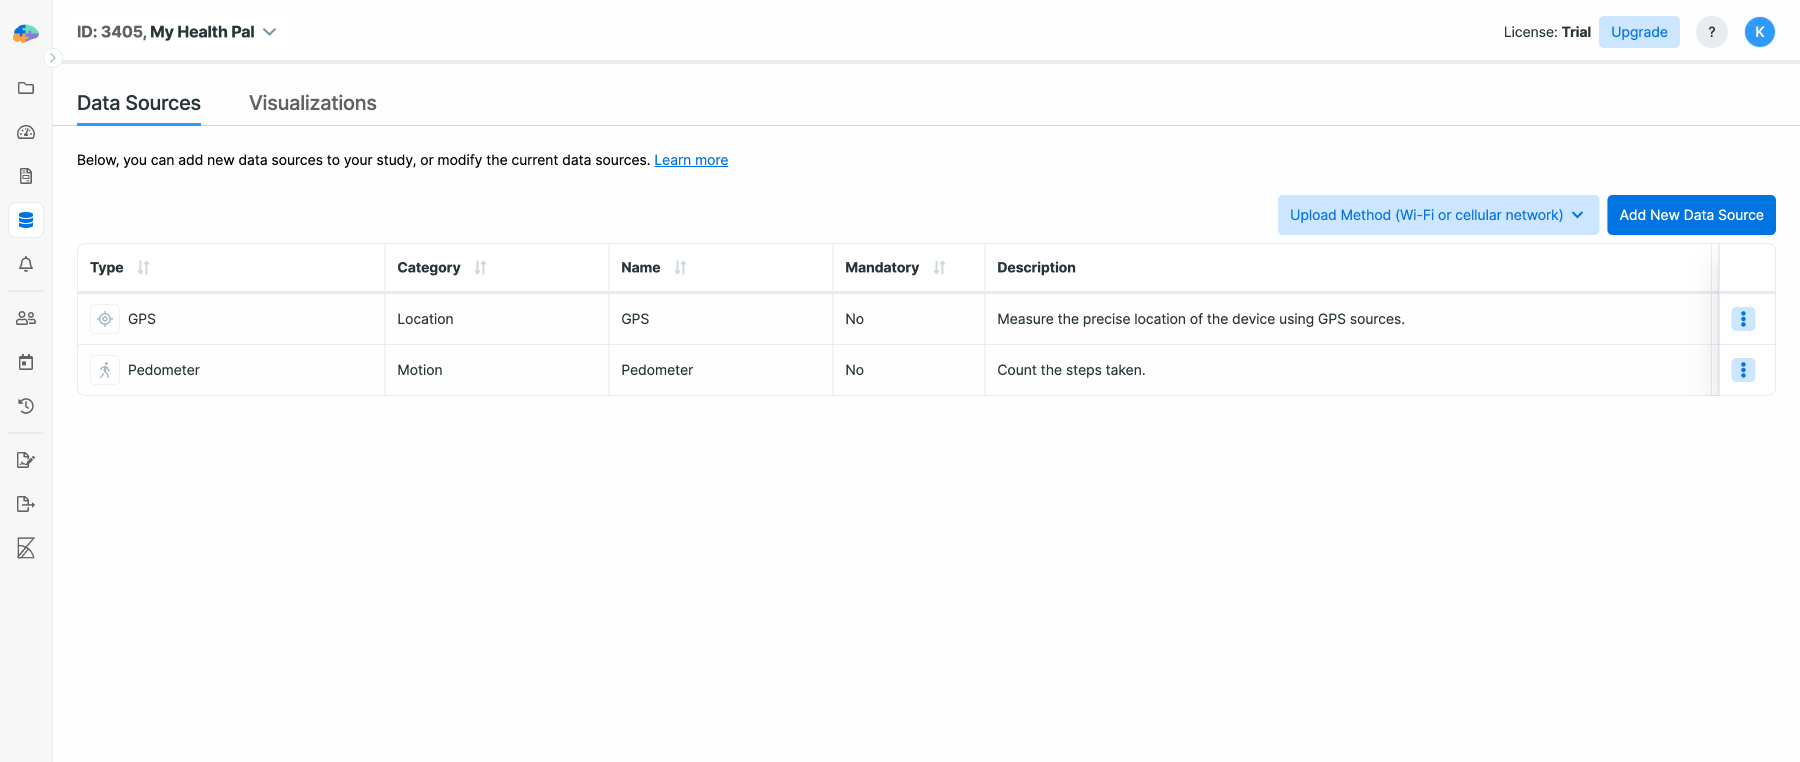
Follow the same steps to add a Pedometer as well. When done, your list of data
sources should look like the following. Note that by clicking on the three dots
you can edit and remove the selected data sources, and go to the Data Export
page.
Enroll Participants
Now you are ready to enroll participants in your new study. You can read about different ways to enroll participants in the Enrollment section. Here we send the study URL to the new participants.
To begin enrolling your participants, click on the Invite Participants and
select the Copy Registration URL. The URL for our study is (yours will be
different):
Below, we pretend to be a participant who uses an Android device. Note that the same steps are true if a participant uses Avicenna for iOS or Avicenna for Web.
As a participant, I receive the study Registration URL, and open it on my phone's browser:
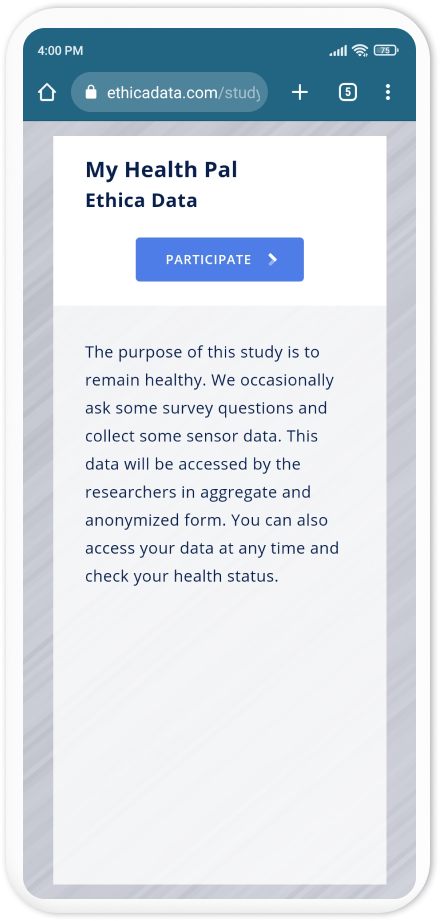
If the participant does not have the Avicenna app installed, clicking on
Participate will take them to the Google Play Store app and asks them to
install the Avicenna app:

When the participant installs the app and opens it, Avicenna asks them to either login or sign up to join in your study:
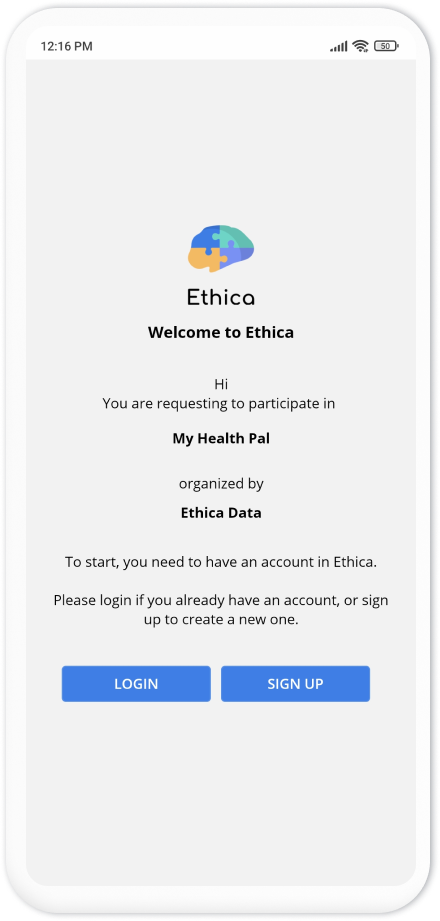
After the sign-up and going through the introduction pages, the participant will see the study registration page in the app. This page shows different information about your study, such as name and organization, participation duration, and consent materials.
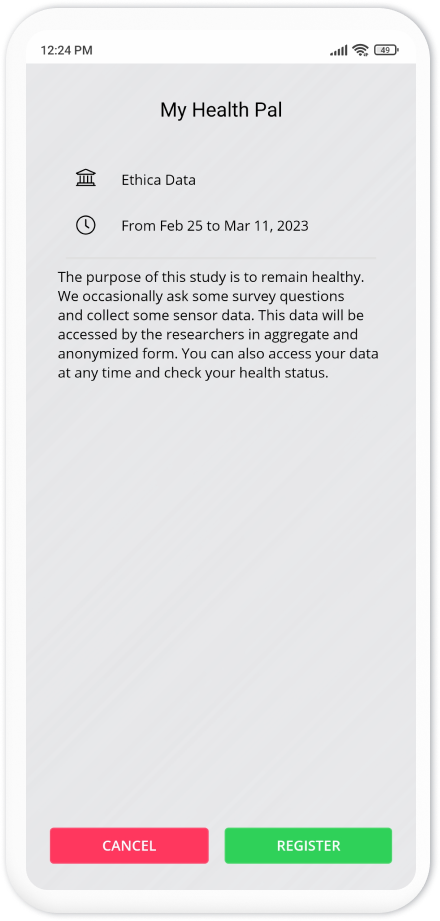
Clicking on Register will enroll the participant in the study to start their
participation:
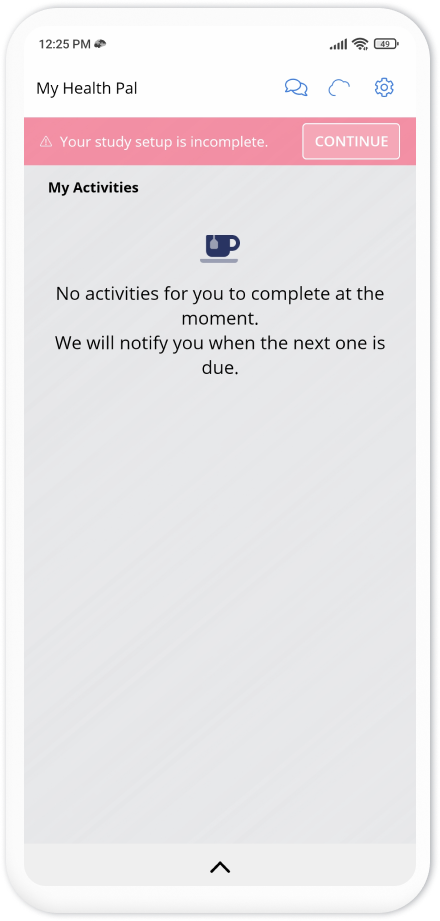
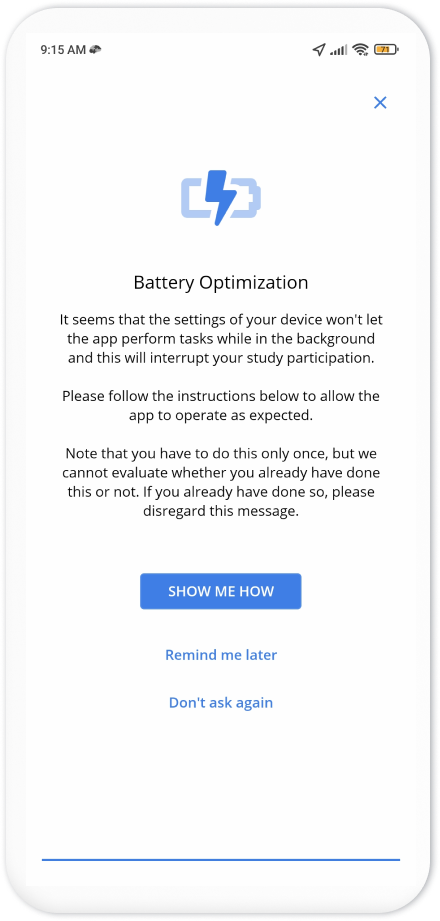
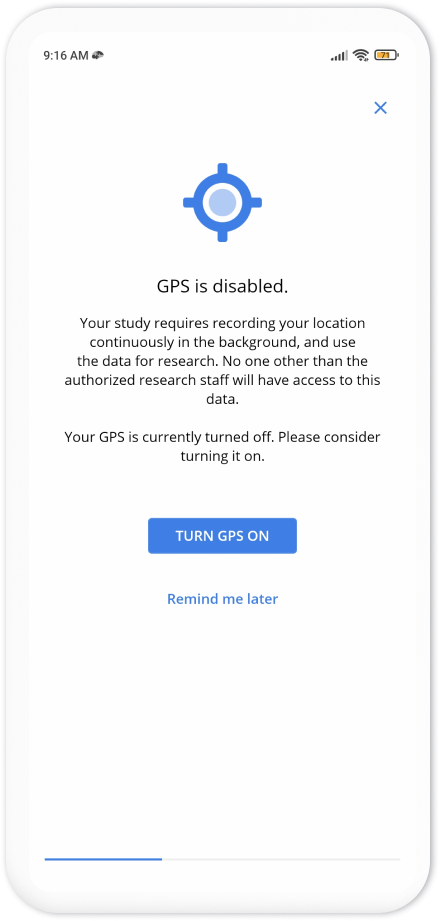
The top banner on the homepage of the app asks the participants to perform some additional steps to complete their enrollment. These steps depend on your study settings. As here we wanted to collect GPS and Pedometer, the steps ask participants to grant permissions for GPS and pedometer data collection, as well as adjusting the phone battery settings to allow Avicenna to run in the background.
After completing these additional steps, the participant can close the app. The app continuously runs in the background, collects the data as instructed by the study, and uploads it to your researcher dashboard. You can check back after some time to see the received data.