Create a New Study
The first step of using Avicenna is by creating a Study. Studies are the main building blocks of Avicenna, which represent your entire research project. You should not divide your research projects into multiple Avicenna studies. Similarly, you cannot use Avicenna for your research project without creating one study.
Creating a New Study
You can start a new study by clicking on the New Study button on your
dashboard's homepage:
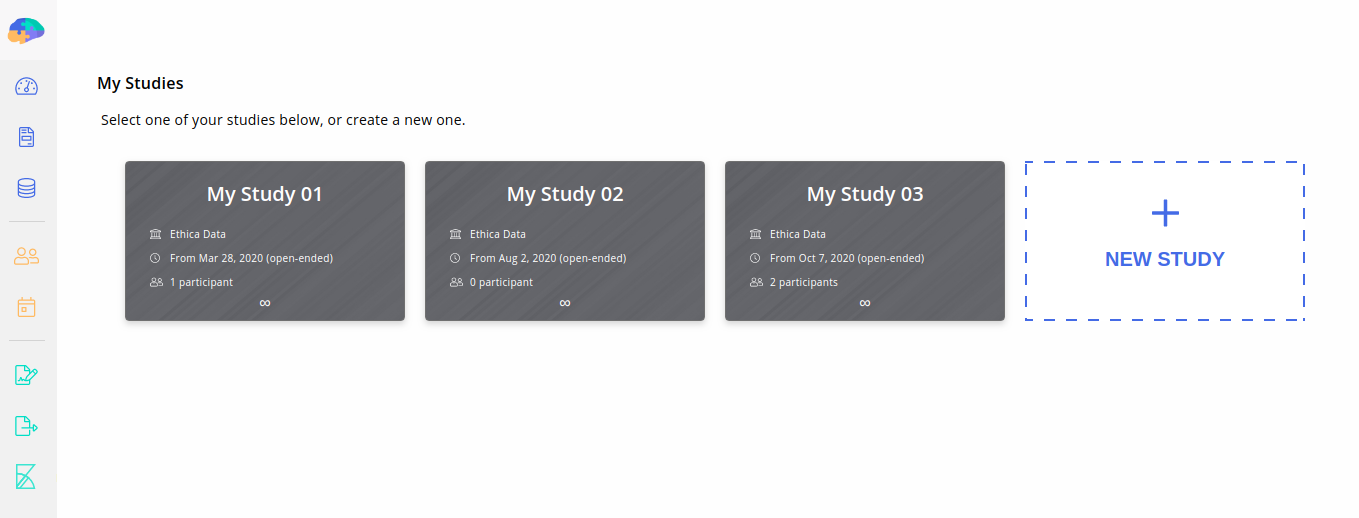
This will open the Create a New Study dialog. Click on Let's Go to proceed.
On the next page that opens, you can enter the initial information about your
study. Below, we will walk you through these steps. On every step, make sure you
enter a valid response. When you do, the checkmark next to the box is enabled.
You can then press the check-mark button, or the Enter on your keyboard to go to
the next question.
Also, you can move between completed steps by clicking on their titles.
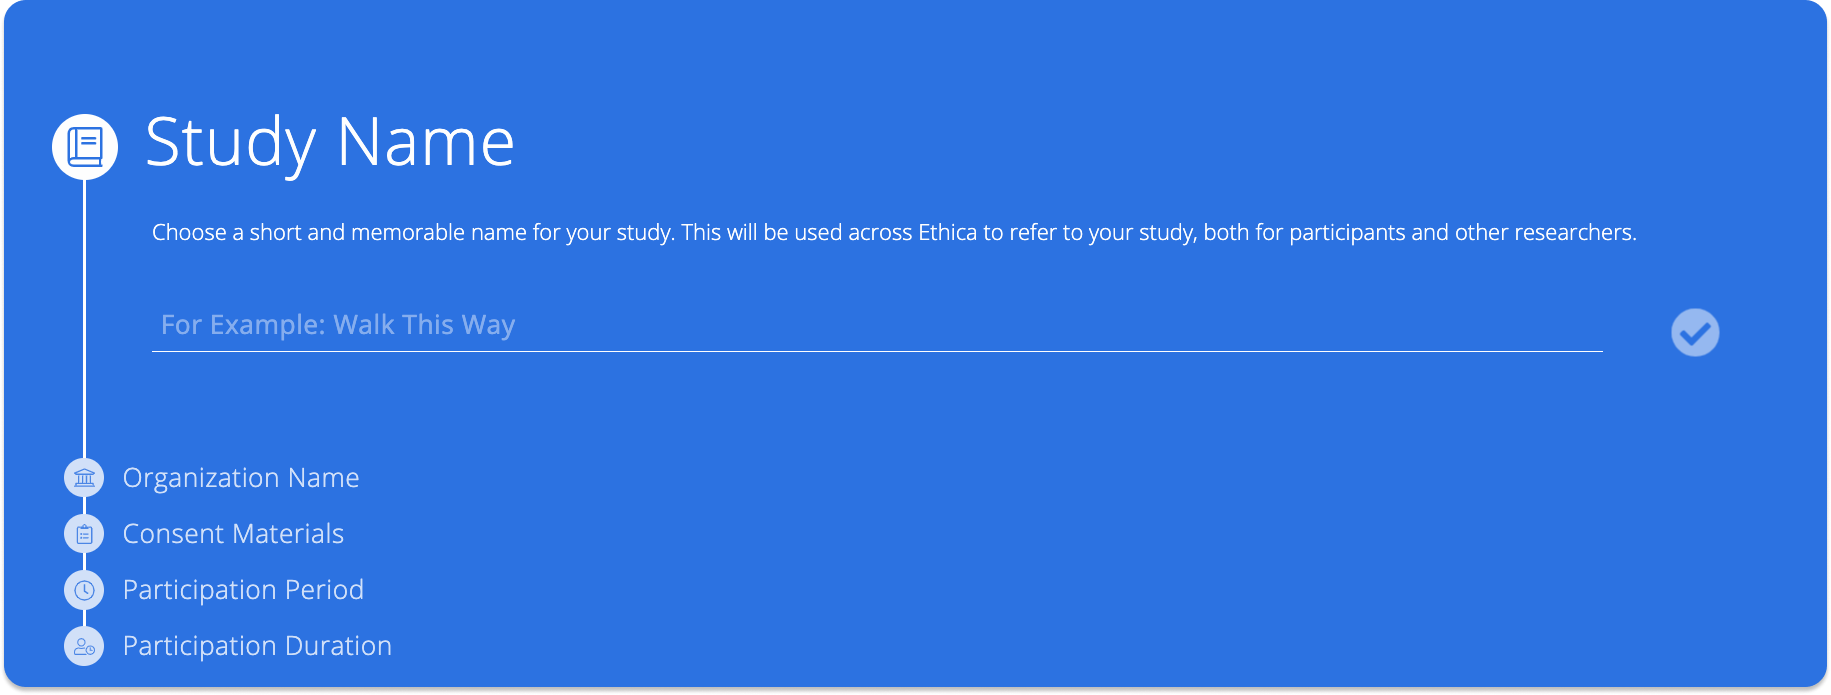
Study Name
The first step is to provide a name for your study. The name should be short, memorable, and concise. It will be used both on the Avicenna website and the Avicenna app to refer to this study.
Organization Name
Next, you need to specify the name of the organization that is conducting this study. By default, this will be the organization or university you are affiliated with. Though if you prefer to choose a different name, you can enter it here.
Consent Materials
Next, you should enter the content of the participant consent form for your study. This is often the content that is approved by your institution's review board as part of your study's review board application. This content is shown to participants during the registration before they join your study. Participants are expected to read and accept this prior to joining the study. In particular, you need to ensure your consent form covers the followings:
- What is the purpose of the study?
- What are the potential risks or benefits to the participants?
- How data will be handled and who will have access to the data?
- How can participants contact a member of the research team?
- What is the withdrawal process?
If you are already planning to meet with each participant in person and ask them to sign a paper form, then the content written here will be more informatory. In this case, you can just add the information you want to be easily accessible to participants.
Furthermore, if you don't plan to get a signed paper copy of the consent form from each participant, you can put the consent form materials in this field, and inform participants that their registration in the study will indicate their implicit consent.
You can format your content using the available controls at the top of the input area.
Participation Period
As participants join in your study, Avicenna automatically calculates when their participation should start, and when it should finish. At this stage, you determine for Avicenna how to calculate the participation period by setting the participation start and end time. We explain this in more detail in the Participation Period.
Participation Duration
As the final step of creating a New Study dialog, you need to determine how many days each participant will take part in the study.
Finalize
After adjusting the participation timeline in the last step, you can click on
the Start button to create your study. This might take a few seconds, and
during this time, Avicenna will set up a database for your study.
After this, you will be taken to your study's home page
(Basics page) in your Researcher Dashboard.
Basics Page
The Basics page shows a few basic configurations for your study and allows you to modify them as needed:
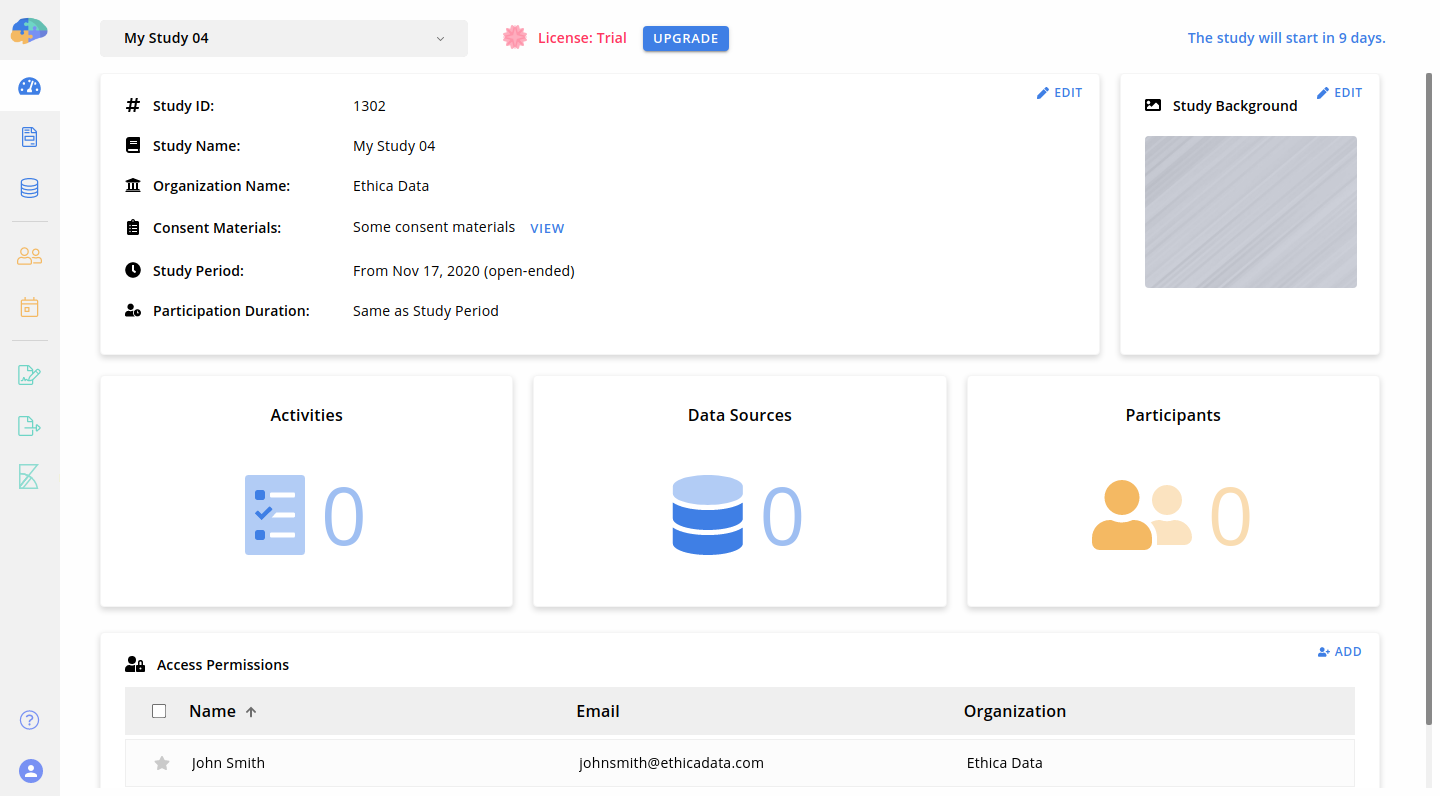
On this page, you can see the ID of your study, the name, organization name, consent materials, and participation timeline you chose while creating the study, the number of activities, data sources, and participants already in your study, and some other items.
Study ID
Avicenna assigns a unique ID to each study. This enables you to distinguish your study from other studies on the Avicenna platform. For example, in the image above, ID 1302 is assigned to our demo study. You need to share this study ID with the participants of your study based on your preference on available options for enrolling them. You can read more about this in the Enrollment section.
Study Background
The Study Background option allows you to customize the look and feel of the
Avicenna app and website for your study. The image you select here will be
applied to the background and theme of your study on the Avicenna app and
website. In the following, an example of a customized background image is
provided:
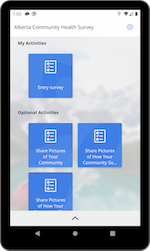 | 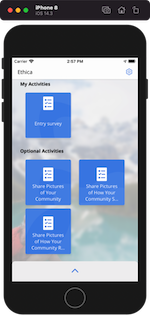 | 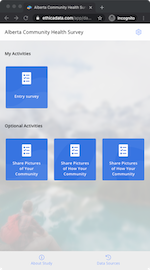 |
To change your study background, on the Basics page, click on the Edit button
at the top-right of the Study Background section. A dialog will open and let
you select an image for the background. An ideal image aspect ratio is 9:16 (a
portrait aspect ratio common among smartphones), such as 720 x 1280.

Access Permission
By default, you are the only person who has administrative access to your study. You can grant this access to other researchers and colleagues registered in Avicenna, or revoke their access. To do so:
- On the
Basicspage, scroll down to the Access Permissions section at the bottom of the page. - Click on the
Addbutton at the top-right corner of this section. - In the
Add a New Memberdialog, enter the email address of the person you want to invite to join the study. Note that this new person should already be registered in Avicenna as a Researcher and also should have verified their email address.
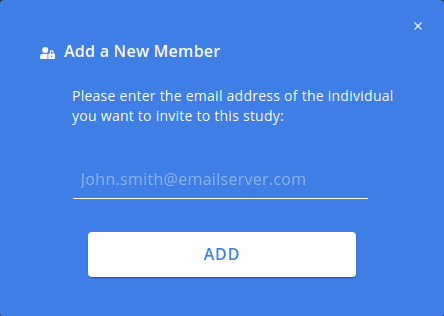
- Click on the
Addbutton to add the new team member.
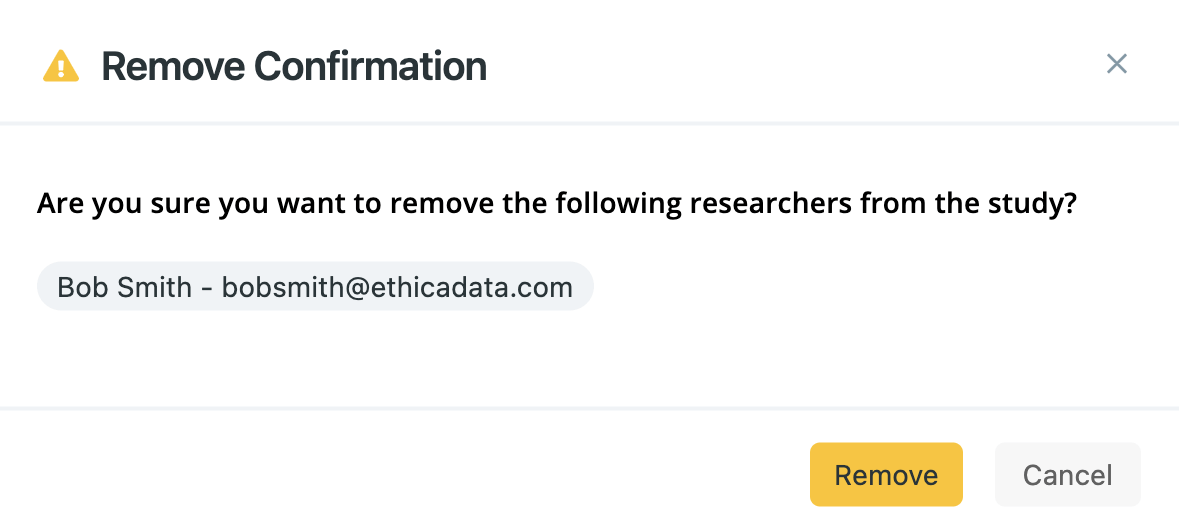
If you want to remove one or more persons from the team, click on the checkbox
next to their names. An action bar will appear which includes a text indicating
the number of the selected team members as well as a Remove button at the end.
Click on the Remove button to revoke their access. A confirmation prompt will
appear before the action is taken: